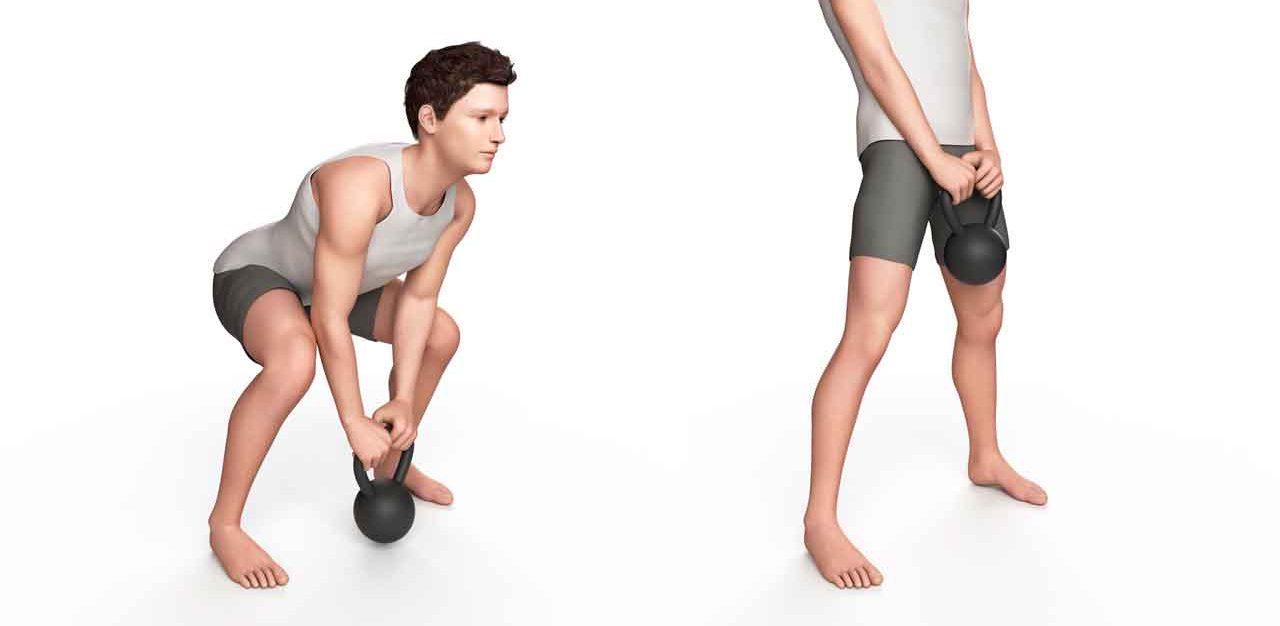
How to Do Deadlifts — Continued

If you use an empty bar, you’ll need to elevate it 6 to 8 inches off the ground in a way that’s stable. You can set the bar on the lowest support of the cage, but you’ll need to lift it off the support and then step back before beginning the exercise. If you’re using a weighted bar, secure the weights with clips so they don’t slide off if you lose your balance.
Approach the bar so you are standing at its middle, with your feet shoulder-width apart and slightly under the bar.
Bend forward and grasp the bar with your hands shoulder-width apart and outside your legs. Let your shoulder blades come forward (protract). You may find it more comfortable to use an “over-under” grip, with one hand facing up, the other facing down.
Grasping the bar firmly, lower your hips and bend your knees as if you are going to sit back, until your shins touch the bar.
Now, raise your head to look forward and bring your spine into a neutral (straight) or slightly arched position. Do not begin the lift before you have attained a neutral spine or you risk injuring your back. Take a deep breath.
Begin the lift, driving into the balls of your feet while straightening your knees and hips. When the bar passes your knees, exhale in a controlled manner using your breath to help you power through any sticking points. As you stand, your weight should naturally transfer to your heels. The bar will stay close to your body as you come up.
After the bar passes your knees, pull it back, rolling your shoulders back and squeezing your shoulder blades together while thrusting your chest out and hips forward into the bar. The bar will come to rest on top of your thighs.
Keep your head up to maintain a strong spine, and hinge at your hips and knees to reverse the move, lowering the bar in a controlled manner back to the starting position.
Do two to three sets, repeating the move eight to 12 times for each set.
What to know when you learn how to deadlift properly
- Keep your head up, chest forward, and shoulders back. Never allow your back to round forward during the move, which increases the potential for injury.
- Remember this move revolves around a hinging at your hips, not your waist.
- Don’t jerk your way through the movement. Instead, use steady momentum to get through any sticking points.
- Make sure you breathe. You can use your breath for additional power during the first half of the lift (ascent).
- Squeeze your glutes forcefully as you thrust your hips forward at the top of the move to “lock out.”
- At no time should you lock your knees, which increases the potential for knee injury.
- Don’t drop the weight. When you get to the bottom of the move after a rep, let it touch the ground in a controlled way before you begin the ascent for the next rep.
Updated:
July 28, 2023
Reviewed By:
Janet O’Dell, RN